A couple of months ago, I got this amazing fabric from The Resource Exchange. It came from a designer, and I’m not sure whether it was hand-dyed or not, but when I washed it prior to making anything out of it (to pre-shrink the material if it was going to do that), the fabric gave up so much red that my wash basin looked like I had killed someone in it. I washed it several more times to make sure I had most of the red dye out that was going to come out; hopefully this will cut down on bleeding during future washes.
Because the fabric pattern was so cool (and somewhat busy), I knew that I would have to make something relatively simple out of it. Something that wouldn’t violate the large, geometric pattern too much and wouldn’t detract from how cool the fabric is. Since I’m a little short on more business-appropriate summer dresses, I decided that a shift or sheath dress would work well. The dress lines would be simple so the fabric pattern could stand out. I found a New Look pattern online for $7, which seemed quite reasonable, so I ordered it. I’ve never used New Look patterns before, but they’re made by Simplicity, which I have used before, so I figured it would probably work out well.
 Sizing for patterns is different from sizing for clothes you buy in a store, and according to my measurements, I’m a size 14. When my grandmother used to make clothes for me, we occasionally would have the problem that when she made the clothing according to the size I should be based on my measurements, it would come out too big, and she’d end up having to take it in considerably. I never really understood what the problem was, but now I do. When I cut out the pattern, I noticed that it had listed on the piece for the front of the dress what the final measurements would be. A size 14 means my measurements are 36-28-38. According to the pattern, the finished garment size was going to be 40-34.5-42. Um, what? Basically, it meant that if I made it my size, it was going to look like I was wearing a sack.
Allow me to digress into a rant for a moment here. Why do patternmakers do this? I understand that you want a certain amount of ease in a garment so that you don’t feel like you’ve had to squeeze yourself into your dress, but don’t most people want something that at least remotely resembles their shape? Giant gaps in the fabric around your bust is not attractive, and I don’t think most women want their waists to look larger than they actually are. I understand that when a clothing manufacturer makes clothes, they might want to make the clothes larger so that women feel better about their bodies by being to fit into a smaller size, and thus being more inclined to buy more clothes. (Sidenote: I don’t agree with this rationale for making clothes bigger, but I understand it.) But when you’re making clothes for yourself, you’re really not under any delusions about what size you are, especially when your measurements and corresponding size are printed right on the pattern envelope. It’s very frustrating to spend all that time making something that’s meant for someone your size only to finish it and discover that you could fit yourself and your dog into the piece of clothing you just made. Patternmakers of the world, please get your shit together. Thanks.
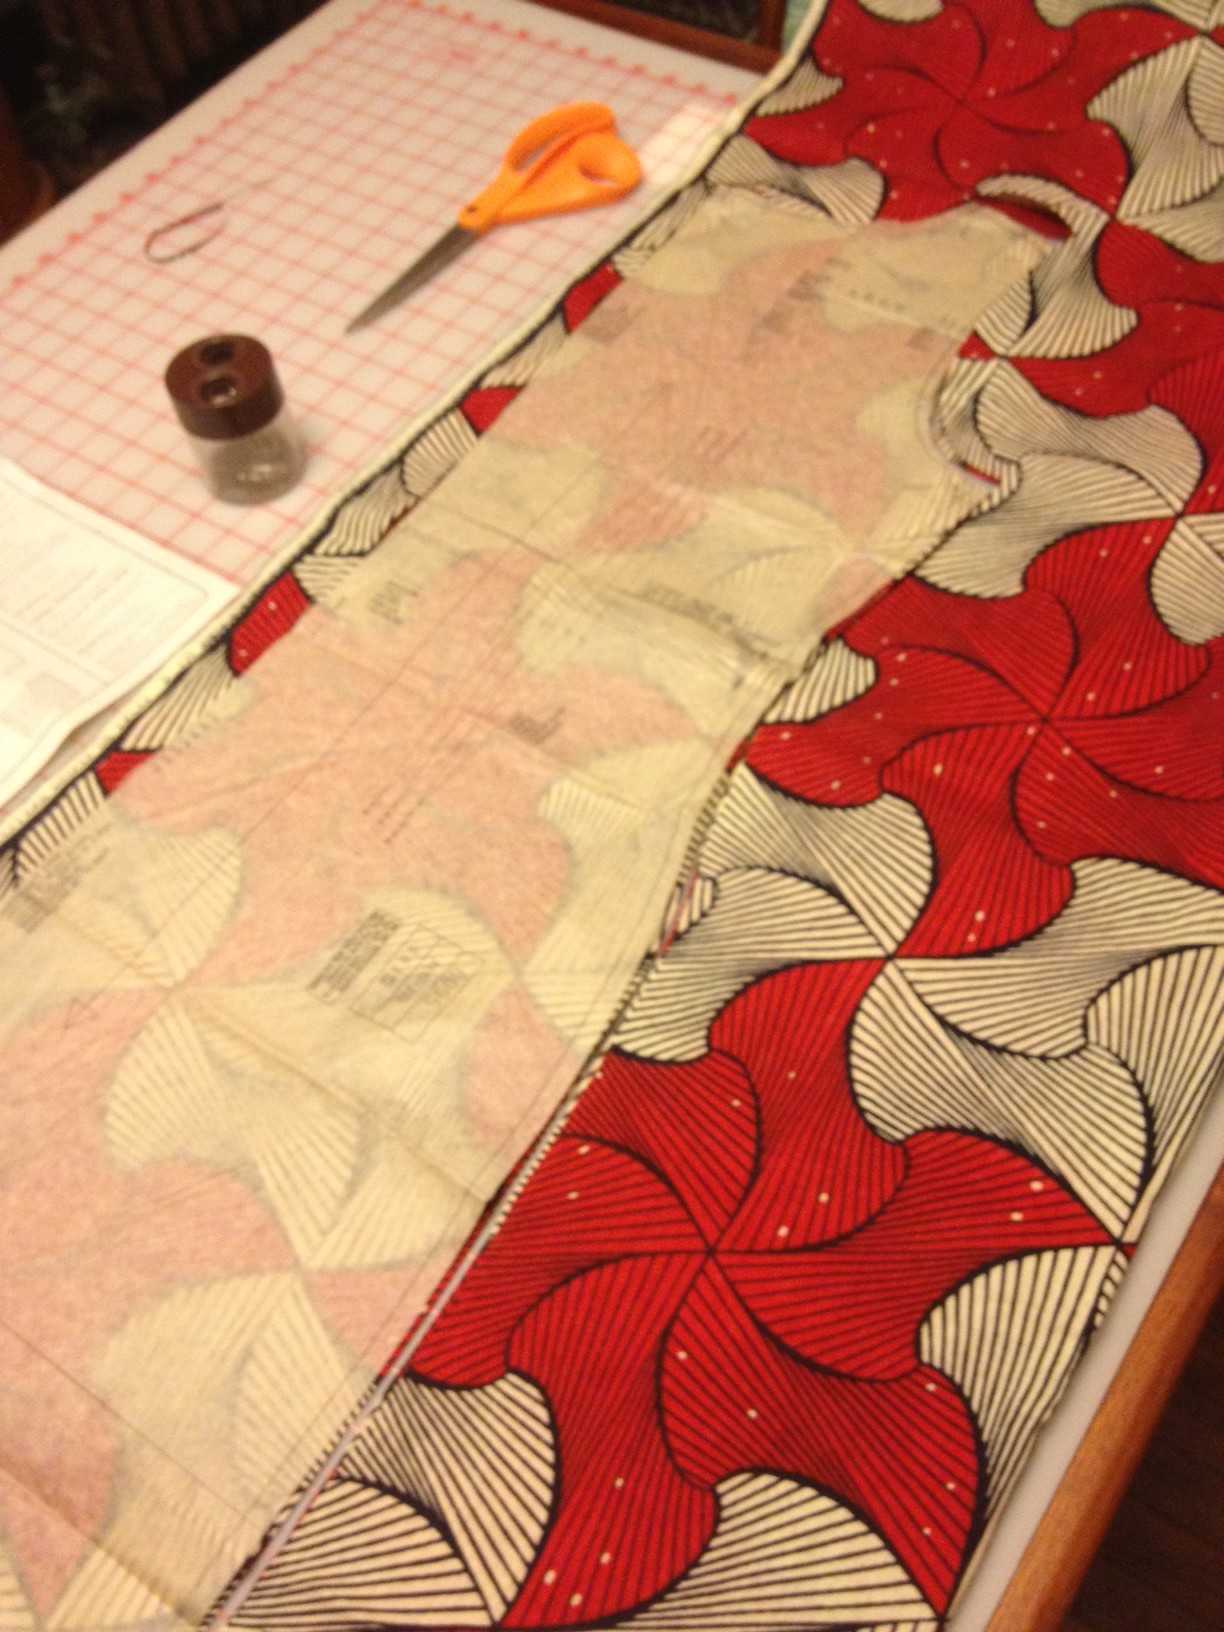
Long story short–I decided to make the size 12 instead. According to the measurements on the pattern, I probably could’ve even made a size 10, but it’s easier to take something in than let it out, especially if you may not have enough fabric to do so. I cut out all the fabric, and then I realized that I needed to cut out interfacing as well for the neck and armhole facing. Luckily I had enough left in the dreck box my mom gave me for Christmas. (Thanks, Mom.)
Quick story about the dreck box. Our family has a history of giving what we call “dreck boxes” to each other for Christmas. These are boxes filled with a random assortment of items (or “dreck”) that, on their own, probably wouldn’t make very good presents. However, taken in total, they create a dreck box, which usually has some sort of theme to it and makes a darn good gift. The dreck box my mom gave me was filled with random sewing materials–things like bias tape, rick rack, hem tape, interfacing, elastic. You know, the kinds of notions you need for sewing–and almost everyone who sews has an abundance of buried in a closet somewhere–but are kind of annoying to have to amass one-by-one when you’re just starting off sewing. Plus, it’s silly to buy new when your mom/grandmother/aunt/whomever has thirty different shades of hem tape that they’re never going to use hanging out in a drawer somewhere.
Okay, back to the dress. Once I cut out the interfacing, I realized I was running out of it, so I decided that I should buy some more to have on hand for the next sewing project. (There is nothing more annoying than being psyched to do a project and then realizing that you’re missing some critical element that means you can’t do it.) I ended up picking up more a few days later at Joann Fabrics, and let me tell you, my mind was blown by the many varieties of interfacing that one can purchase. The interfacing I had came in a small plastic bag, but much to my delight, I discovered that you can buy it by the yard and in many different weights. I bought a lightweight and a mid-weight interfacing and was pretty sure I had just won for the day.
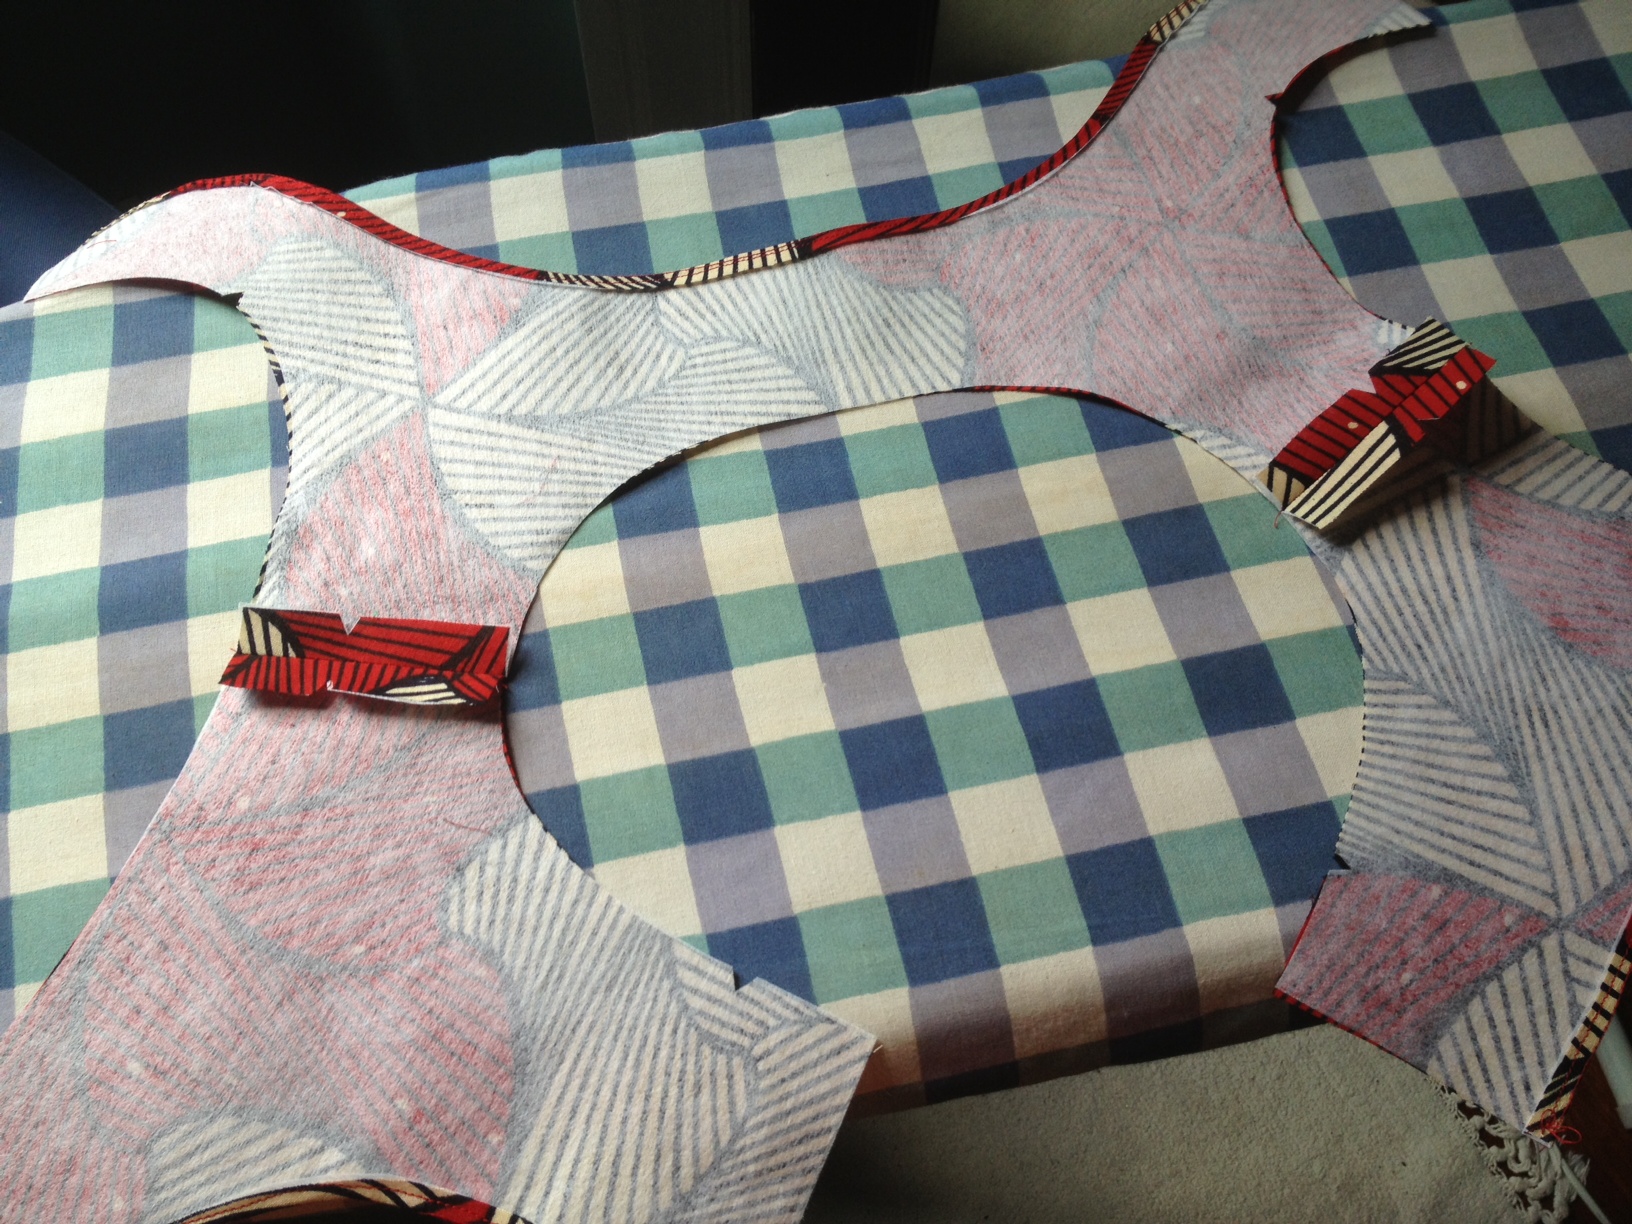 Now really–back to the dress. I sewed the front and back parts of the dress together and then moved on to making the neck facing. This was the first time that I had to make a facing for anything. I ironed my fusible interfacing to the fabric, sewed the facing parts together and was delighted by how sturdy the piece felt. I also thought it looked pretty good (see picture at left). After I finished the dress, though, I felt like the neck might be a little too structured. We’ll see what happens after I wash it a couple of times, but if I had to do it again, I would probably use that fancy lightweight interfacing I bought. Live and learn.
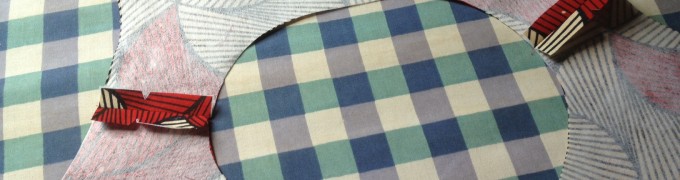
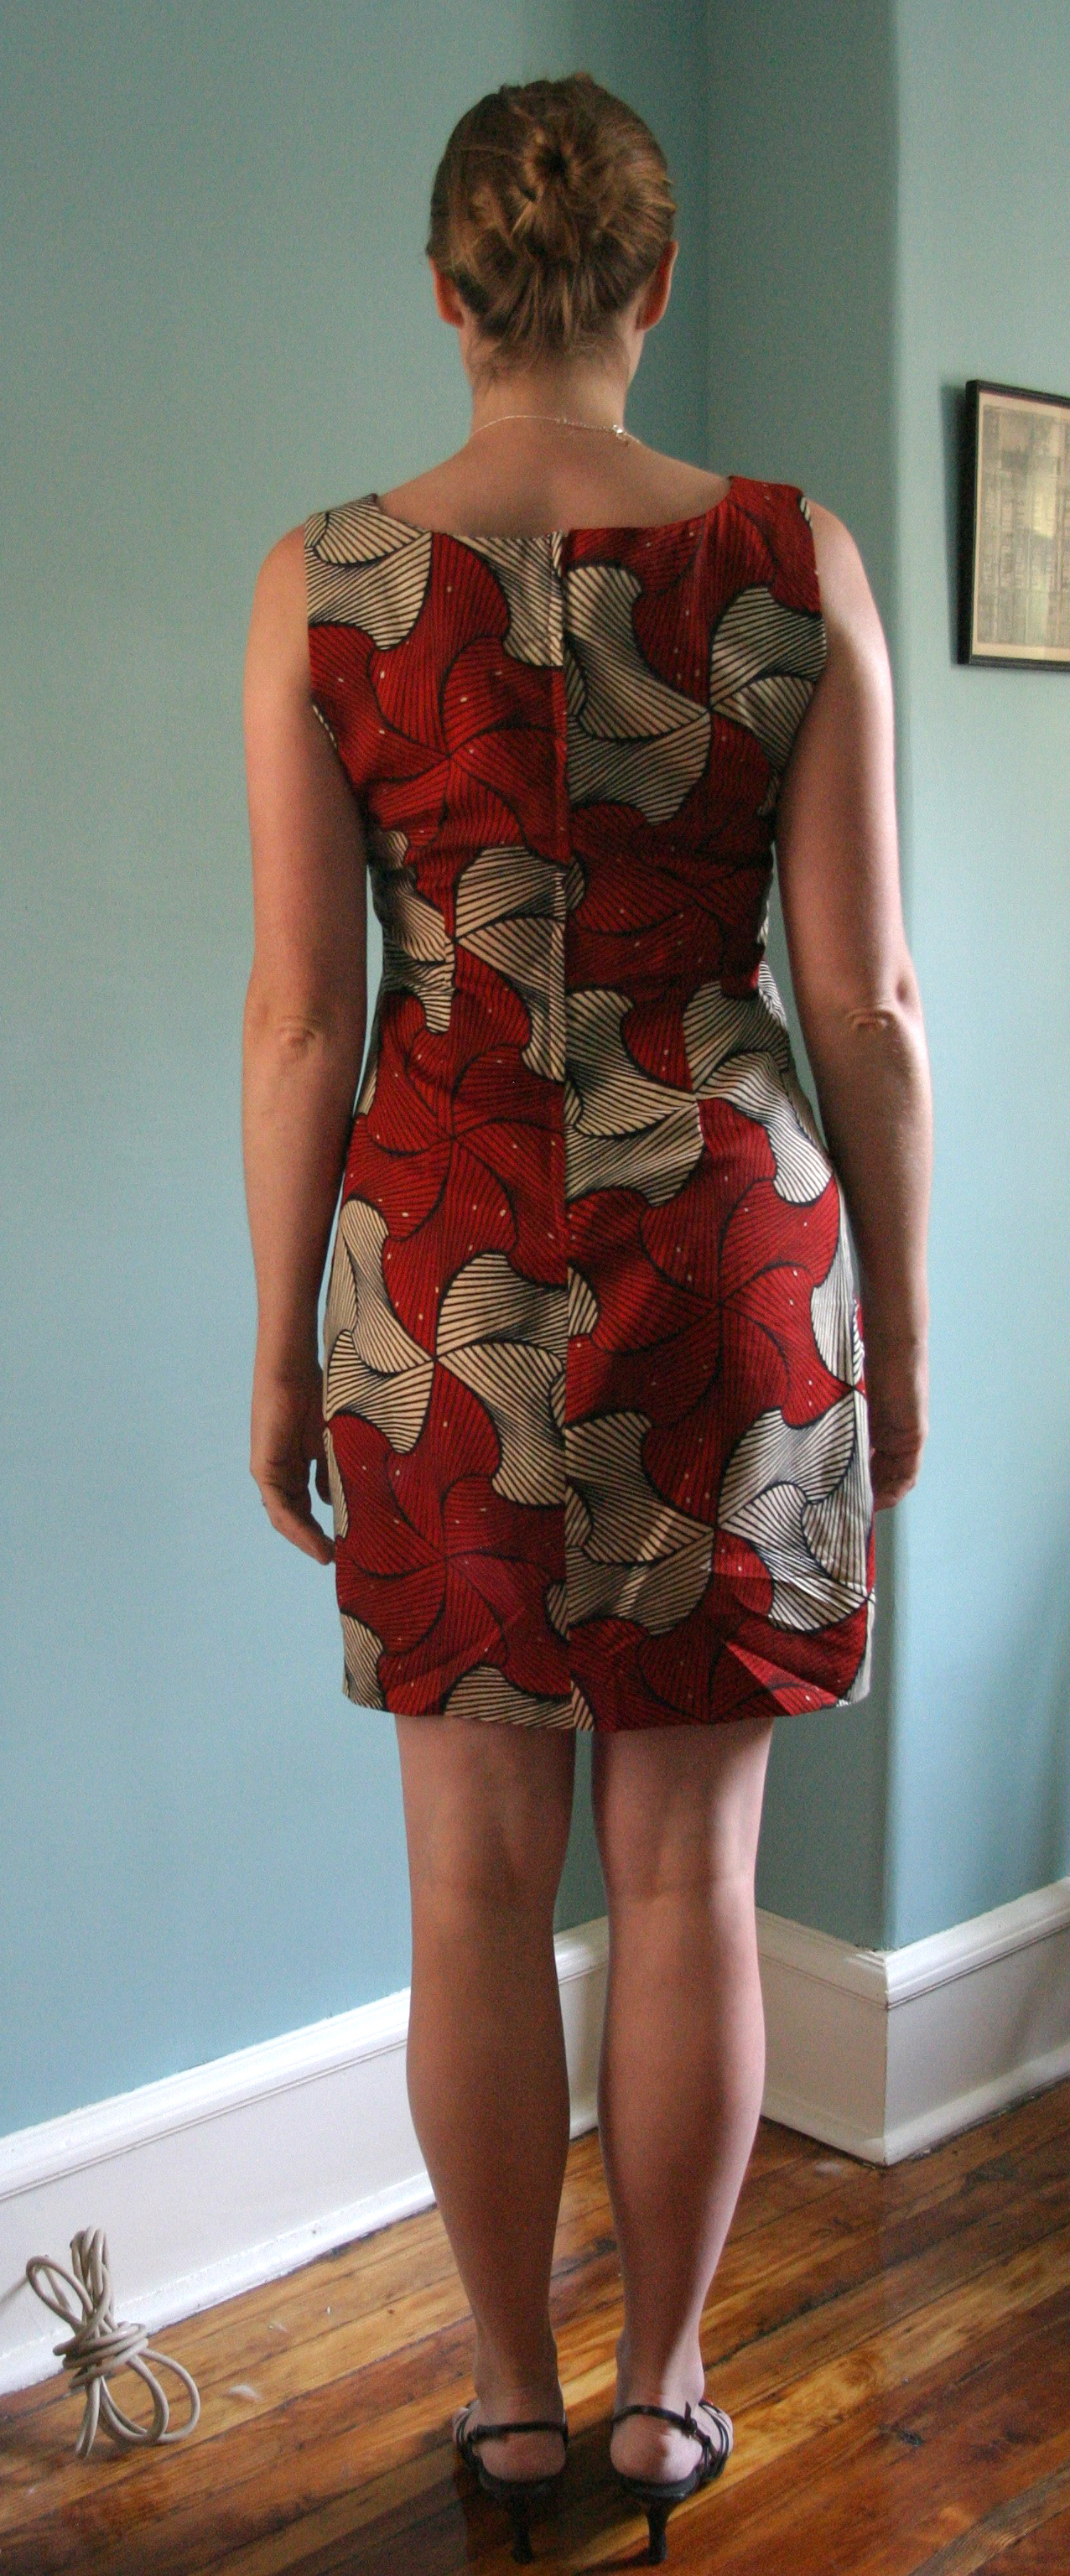
 Once I successfully attached the facing to the dress, I moved onto the side seams and the zipper. I was a little nervous about the zipper because I feel like I am still not terribly good at sewing zippers. This one worked out pretty well, though, as the pattern said to sew a flap over the zipper so that it disappears. The picture at right shows me holding the zipper flap open to reveal the zipper. I like the way it worked out.
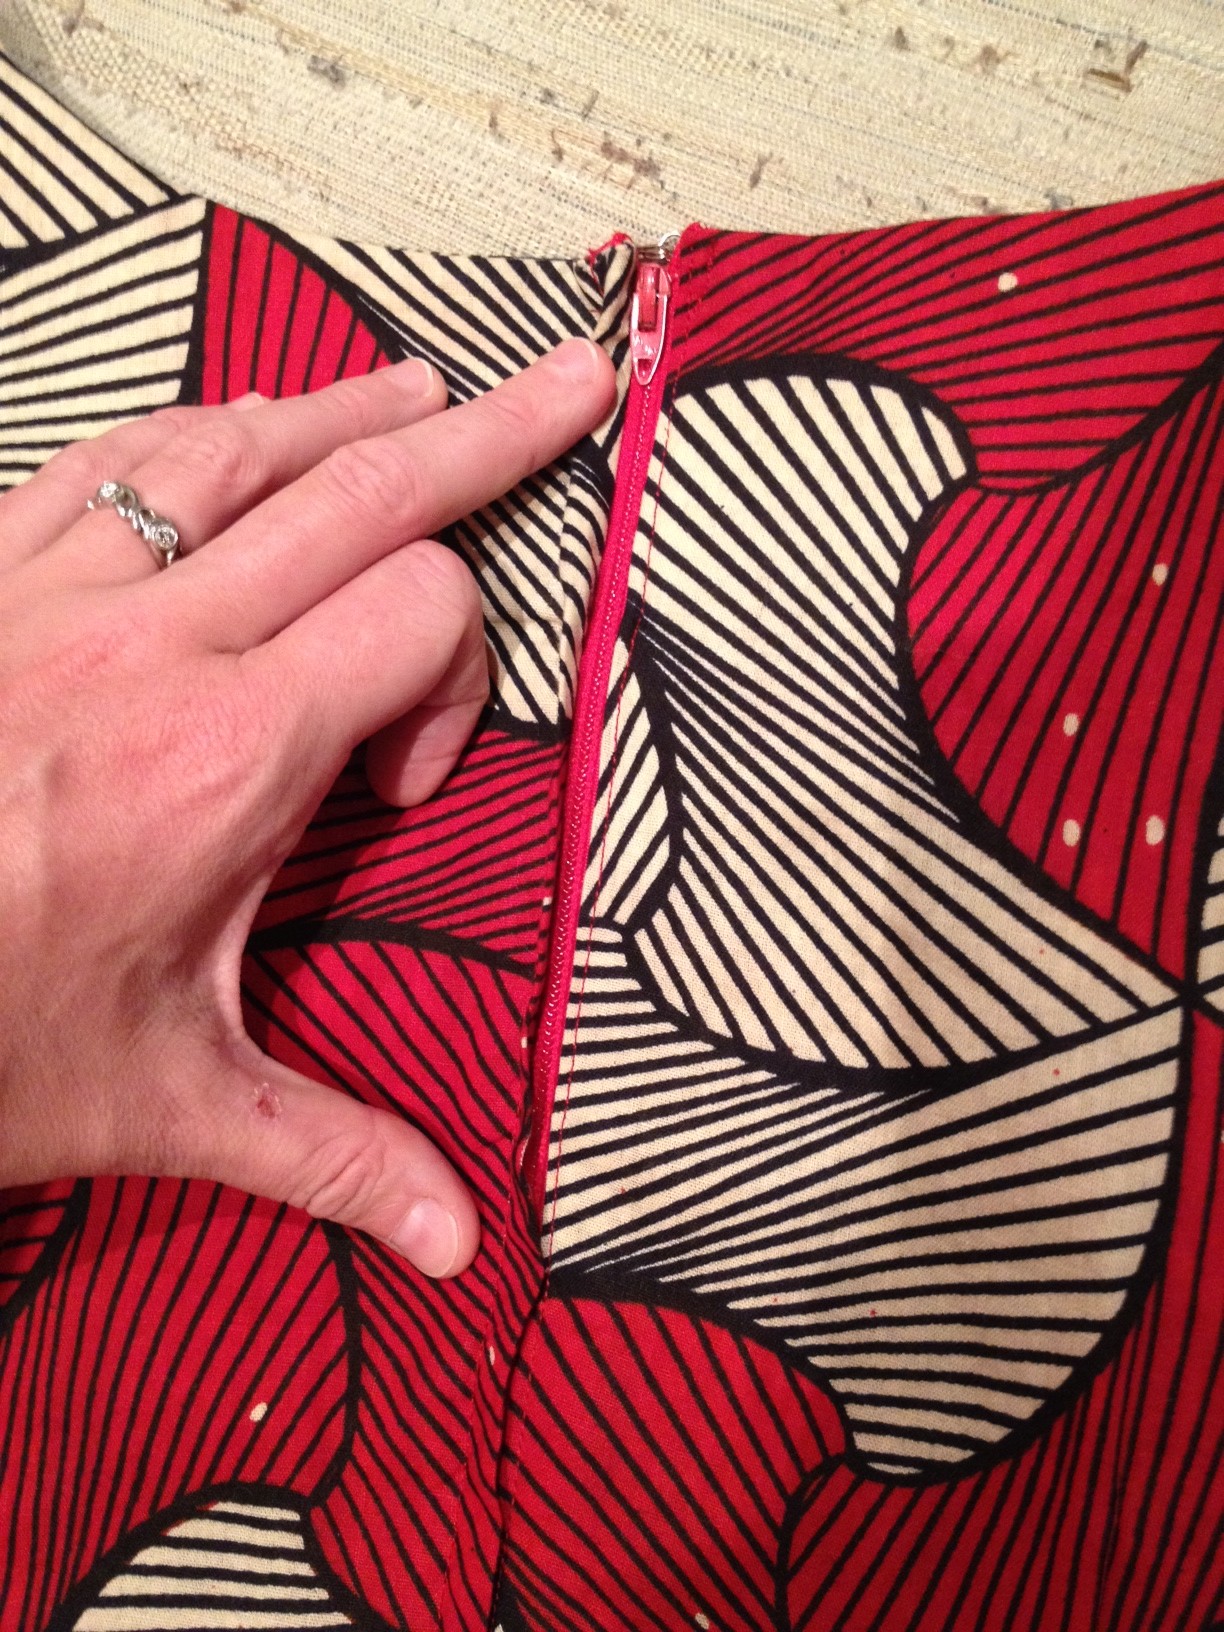
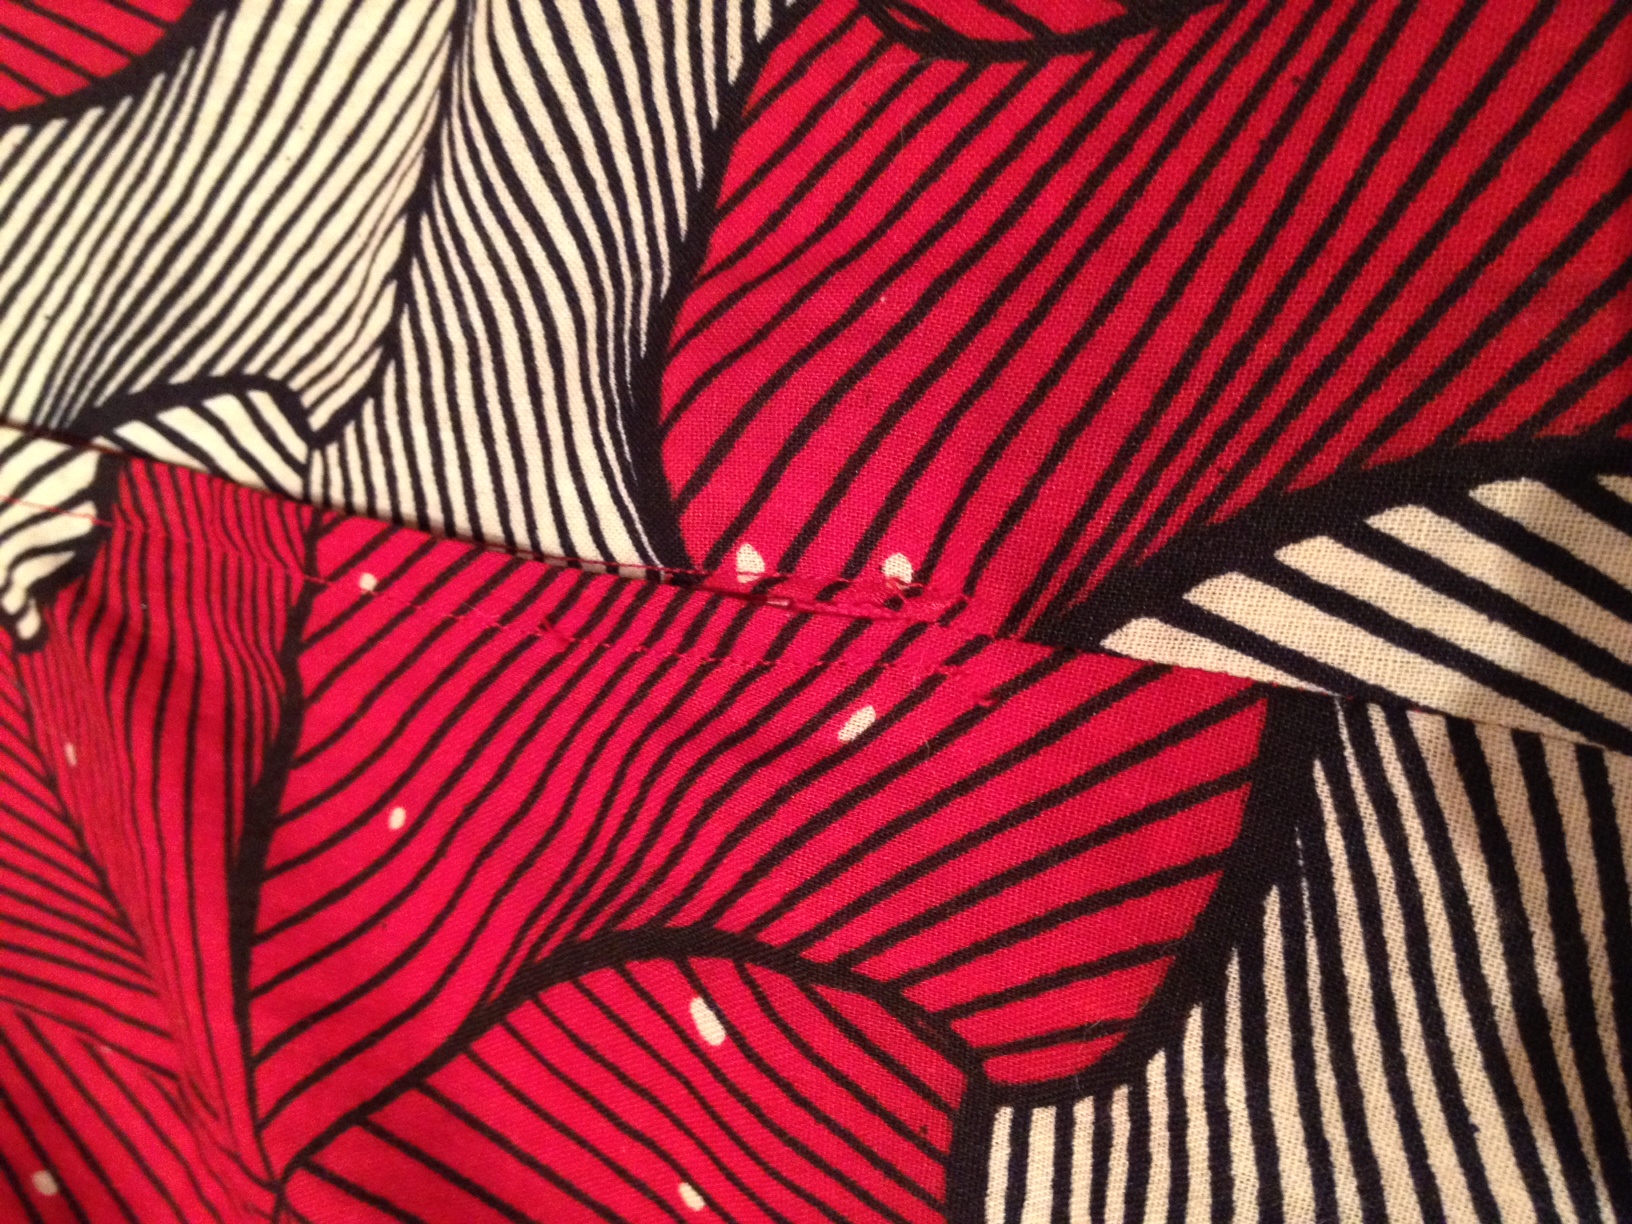 However, I would still say that I don’t have it all figured out yet because the bottom of the zipper didn’t quite work out the way the pattern said it should. If you look closely at the bottom of the zipper in the picture on the left, you can see a tiny bit of the actual zipper peaking through. I tend to be a bit of perfectionist, but I felt like this was close enough to leave it along. It’s still frustrating, though, that I don’t have this zipper thing quite down yet.
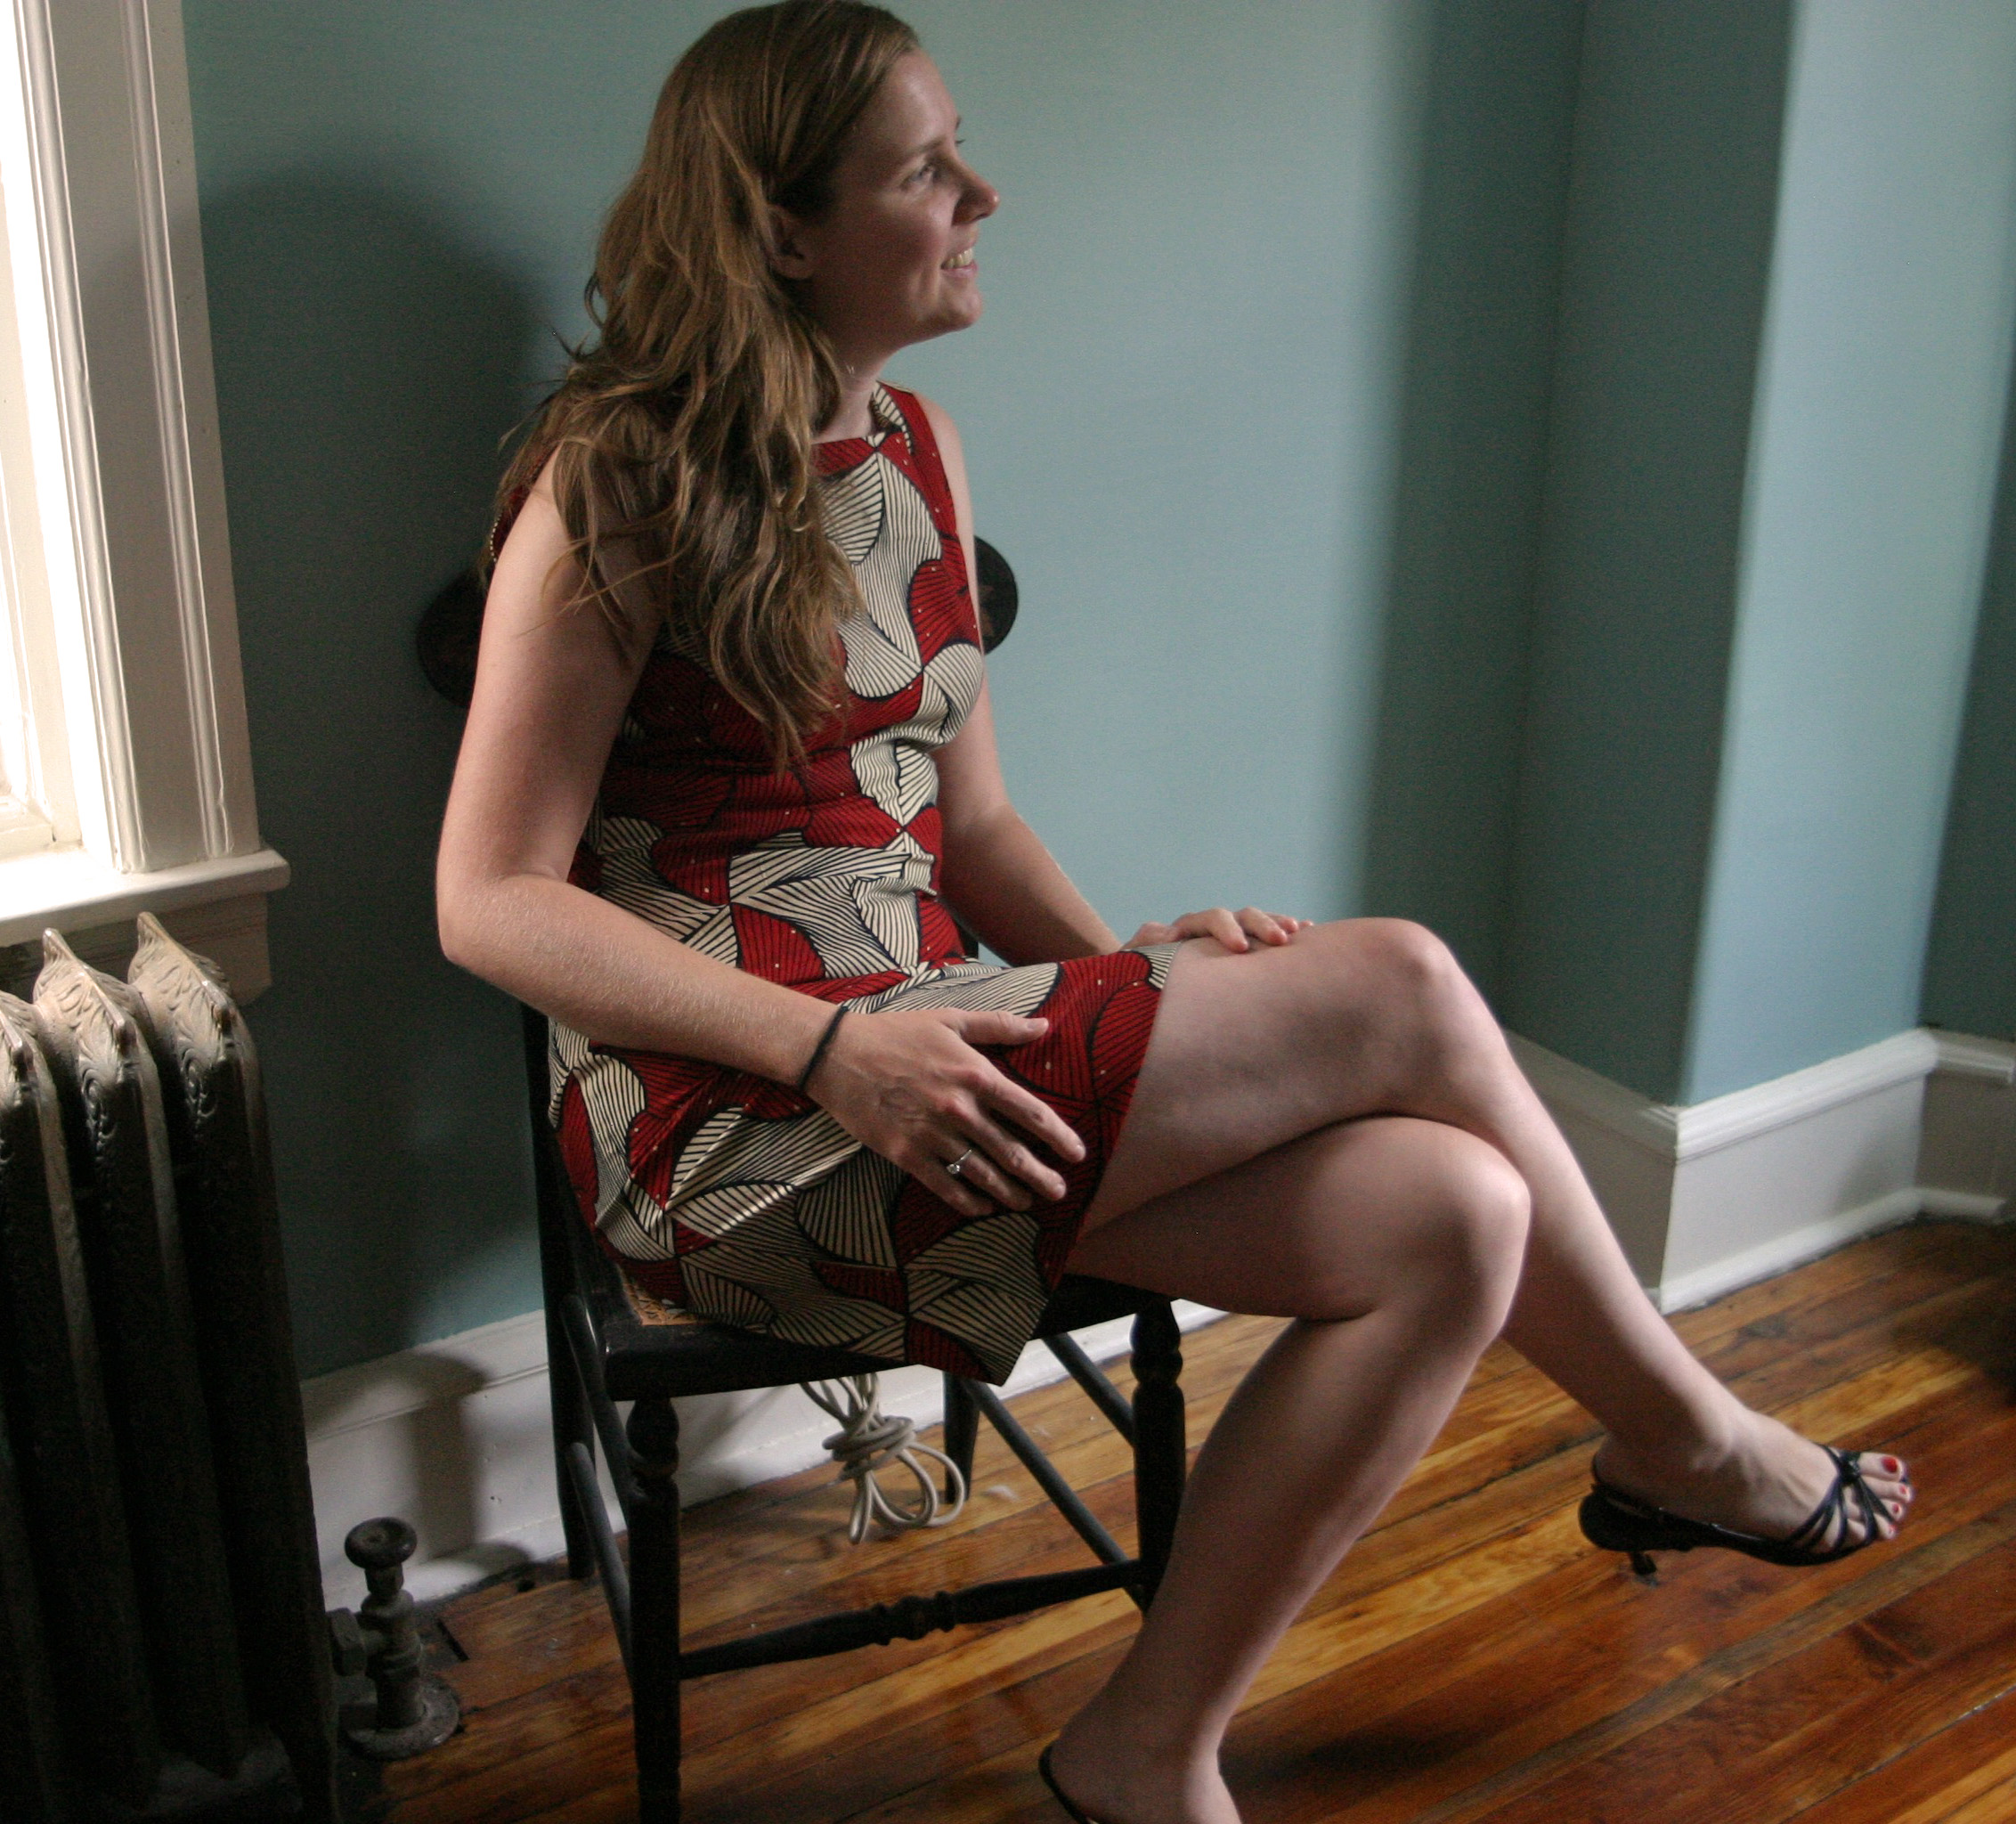
Once I finished the zipper I thought I was home free. Except that when I tried on the dress, it was clearly still TOO BIG, even though I had made the smaller size. Luckily, I was able to rip out the side seams pretty easily and take it in an equal amount on each side, and it worked out fine. And now I have a nice new lightweight summer dress!
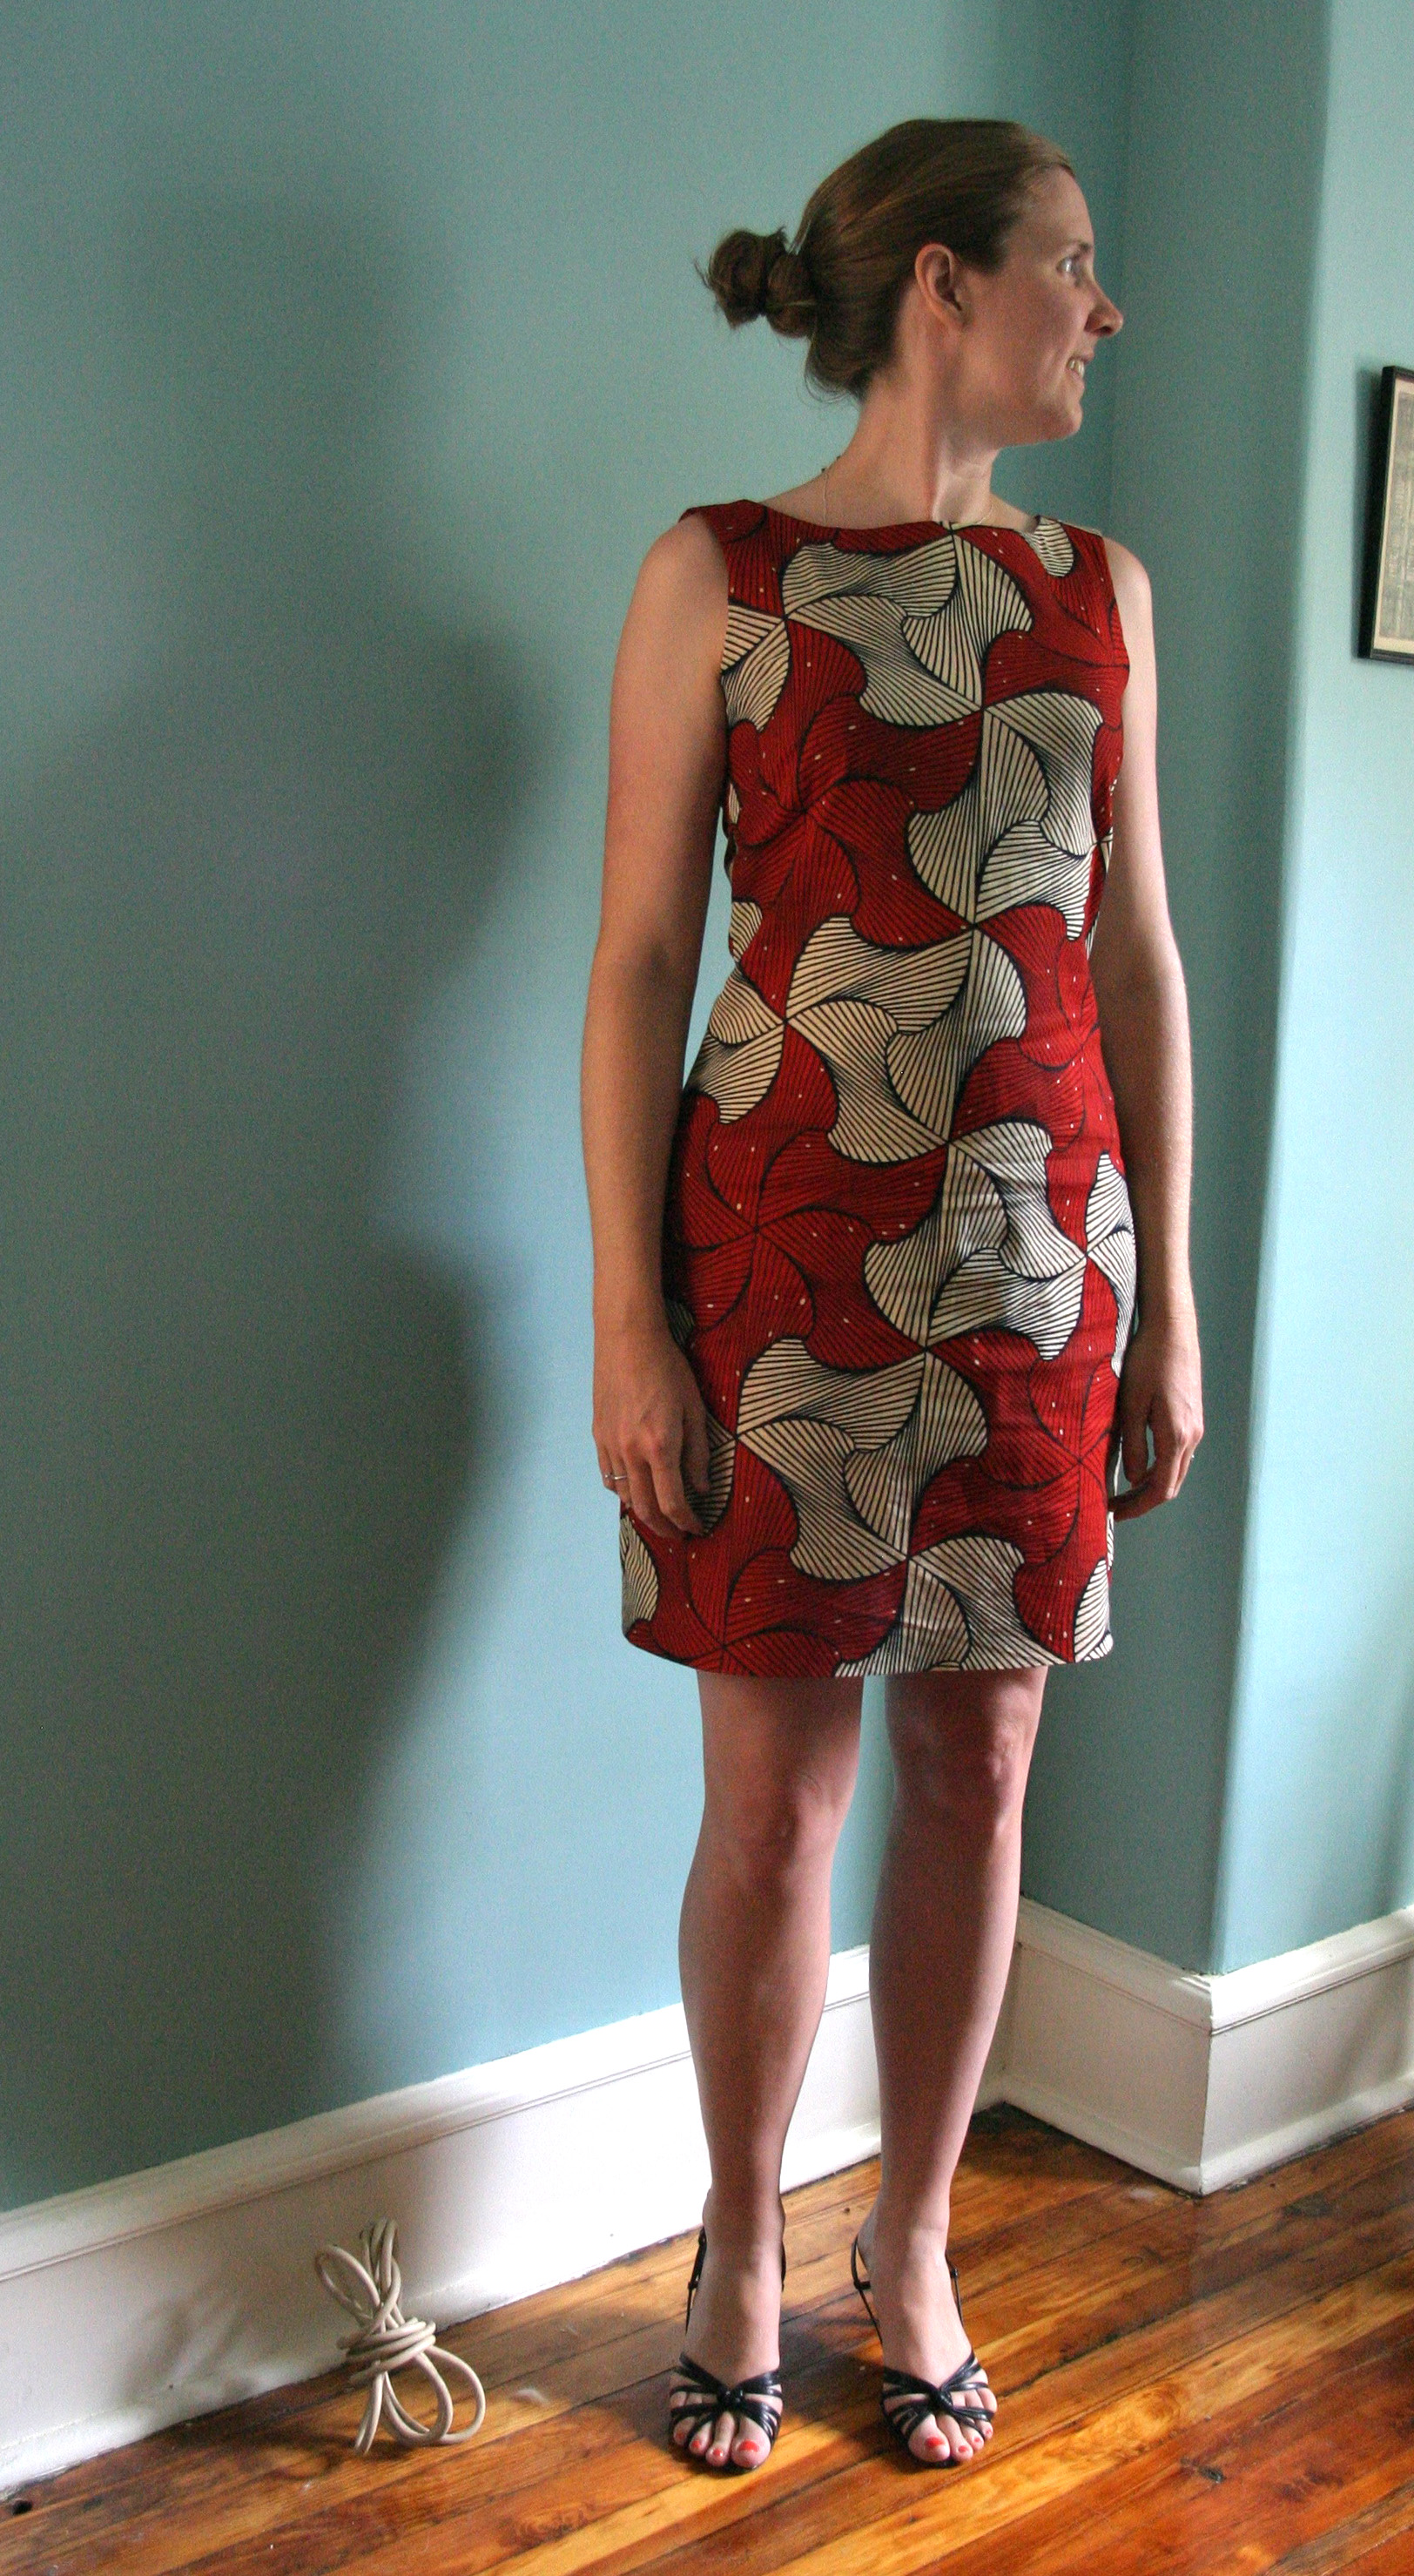
It’s super comfortable, and I might be inclined to make another dress out of this pattern. And bonus! I think I even have enough fabric left over to make something else out of it. Now….what to make….what to make…..
Leave a Comment
Let us know your thoughts on this post but remember to place nicely folks!