I have a confession to make. I didn’t actually sew on a Sunday this month. In fact, I just got May’s project done today under the wire. (Phew.) It’s been kind of a busy month, and I found myself without any free Sundays to sew. Next month’s looking better. The unfortunate byproduct of waiting until today to finish my project is that my second floor has just about reached inferno conditions due to the heat wave and the fact that I’m stubbornly not putting my air conditioners in until it’s at least June–not ideal for sewing and using a hot iron. But I persevered, and now I’m happy to say that I have a new(ish) shirt.
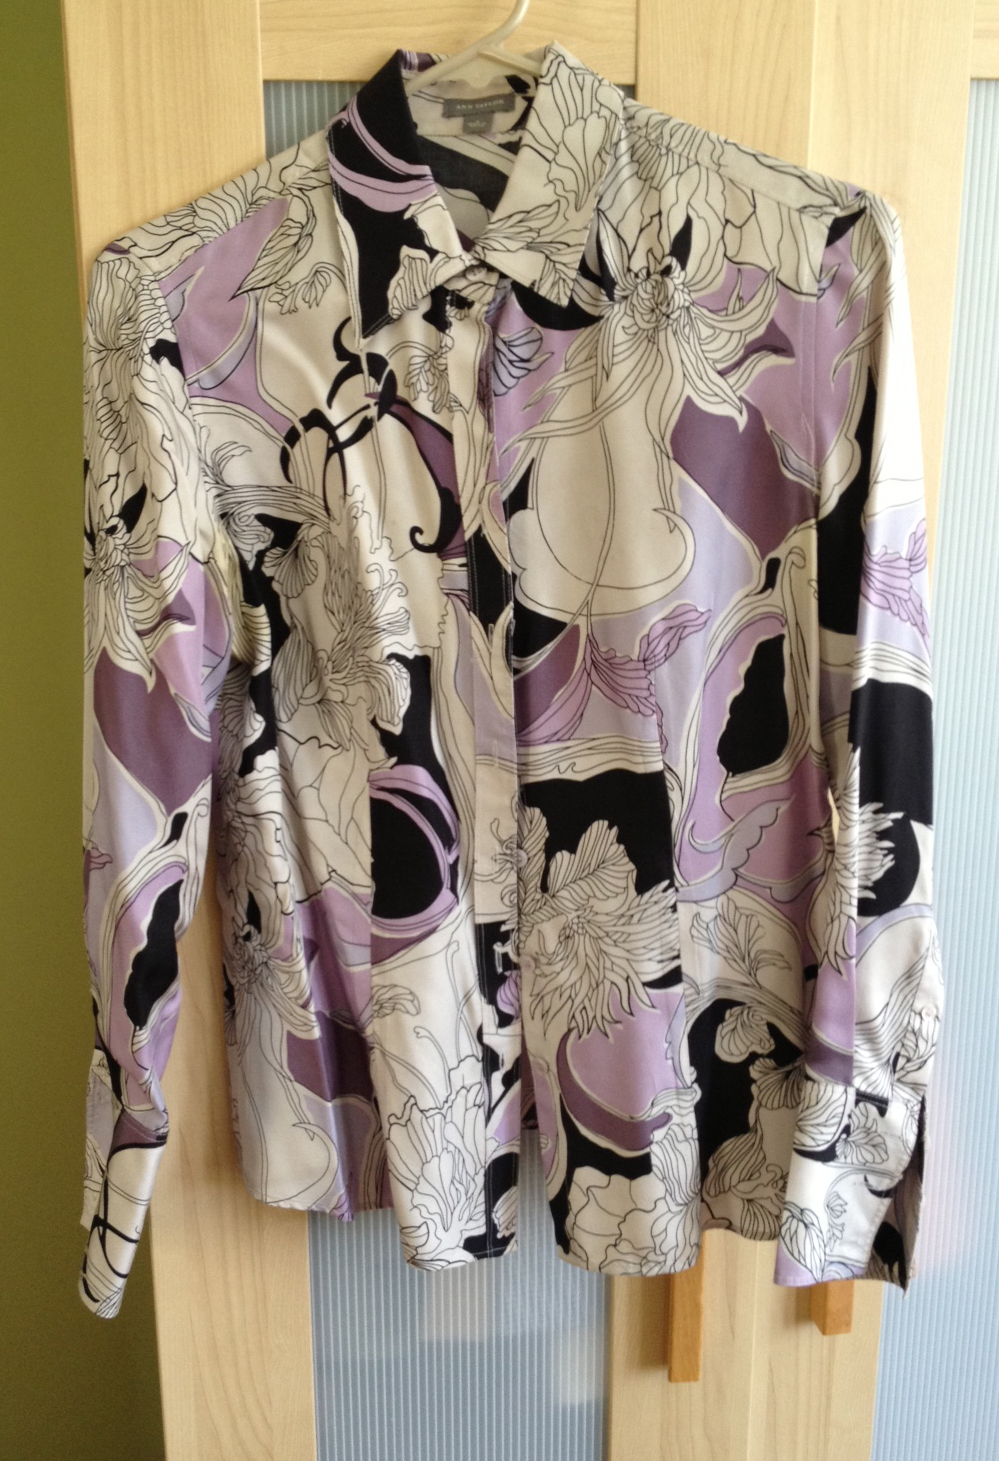 The reason I say new(ish) is that I decided to dive into the world of alterations this month. I’ve had this shirt for eight years (shown at left) that I really like because of the pattern on the material–very organic and kind of art nouveau-y. It came from Ann Taylor, and it’s a well-made silk shirt, but apparently it was no match for my under-arm perspiration. (Seriously, what is in that stuff? Pure acid? And why does it turn some of my t-shirts’ armpits bright orange? It’s gross, really.) This winter I noticed that it had developed some holes in the armpits (in addition to, despite my best eco-friendly dry-cleaning efforts, some lovely discoloration). Saddened by this development, I was trying to figure out a way to keep the shirt from the landfill since I knew I wasn’t going to be able to donate it with holes in the pits. Then it dawned on me that perhaps I could turn it into a lovely summer blouse, since I have a shortage of those. Problem solved.
I was thinking that if I removed the sleeves, I could use the fabric to make some sort of ruffled collar. Then my sister stopped by my house one day and with a lovely summer blouse that looked pretty much like what I had in mind. So I asked her if I could borrow it and use it as a guide for my alterations; she obliged. I carefully removed the sleeves and collar of my shirt with a seam ripper, and then I carefully examined my sister’s shirt to figure out how to cut the ruffles.
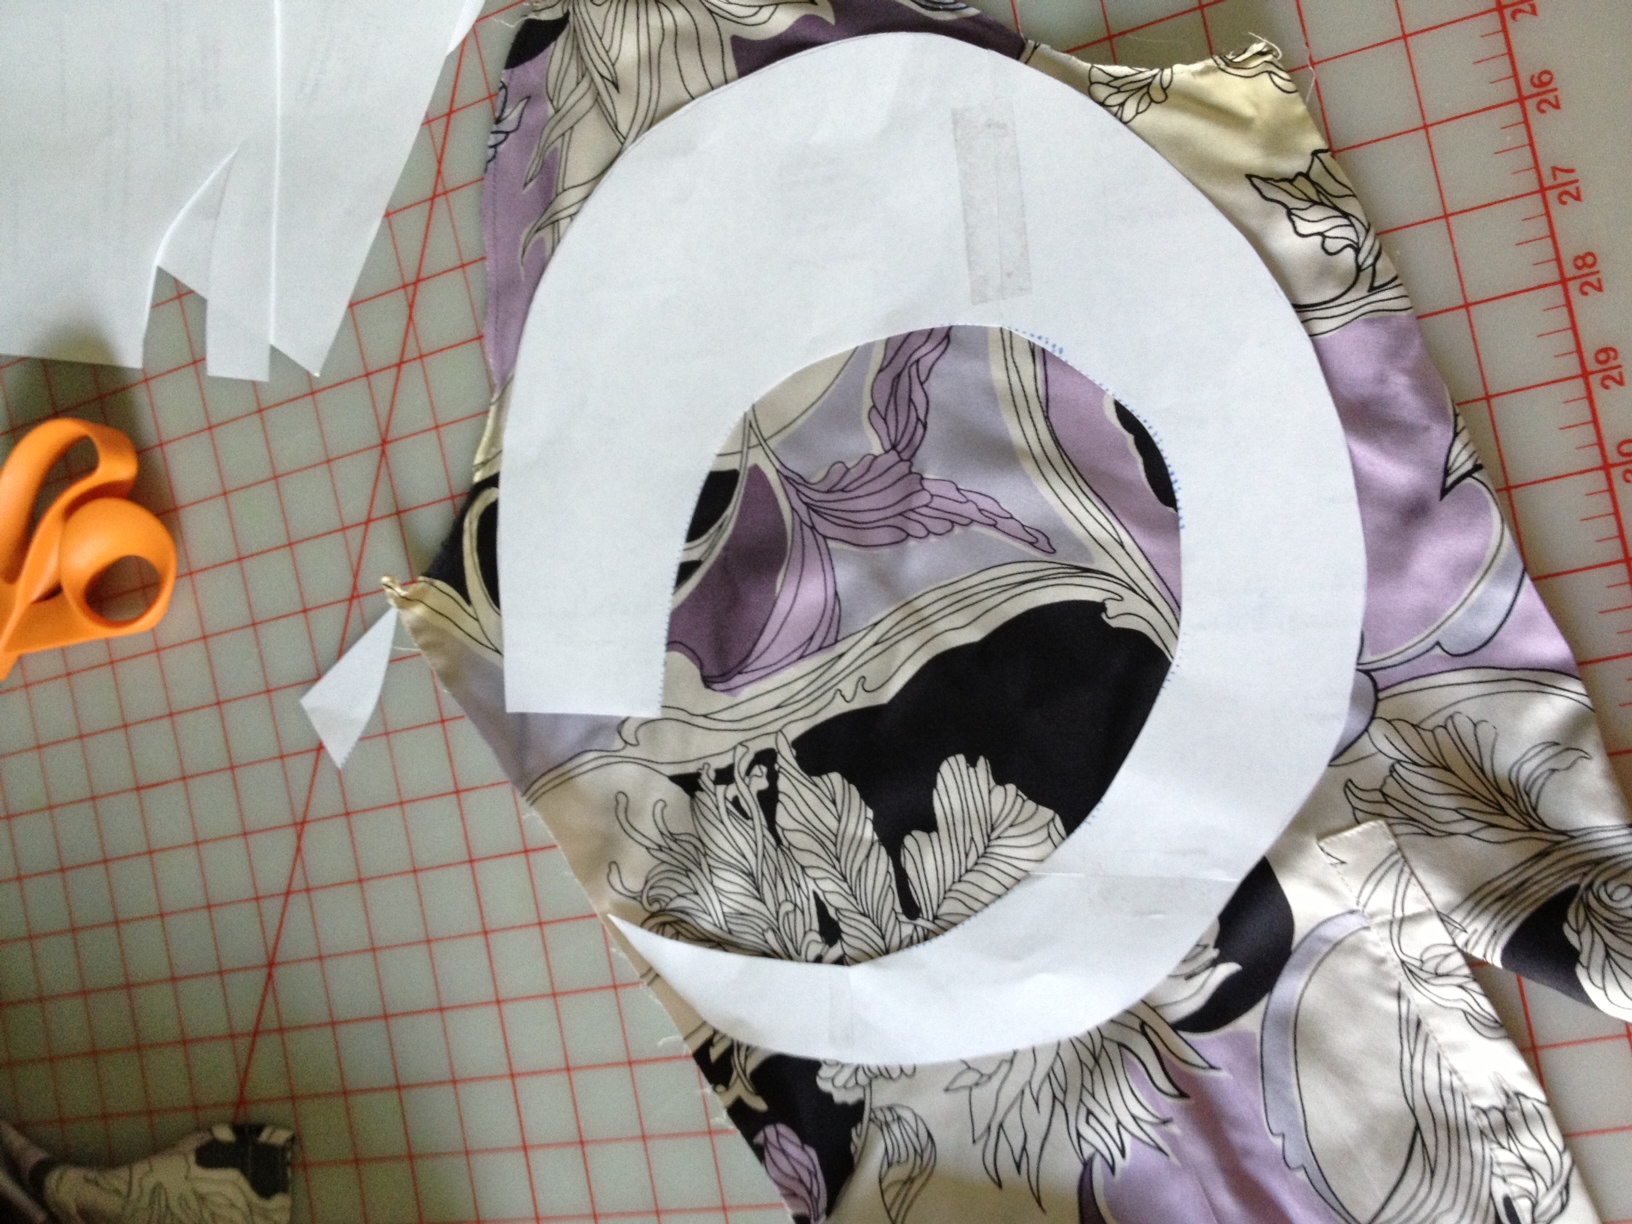 I decided it made the most sense to make a pattern of the ruffles for two reasons: (1) so I could be sure that I cut out the ruffles properly and (2) to make sure that there was enough material in the sleeves before I attempted cutting them. As I was making the pattern, I was skeptical that I would have enough material, but much to my delight, when I placed the pattern on one of the sleeves, it just fit. (See right. You can also check out the sweet sweat stains in this photo.) Cutting the ruffles seemed like a perfect opportunity to take my (newish) rotary cutter on it’s maiden voyage. It was awesome. I feel like I’ve seen the future of incising, and it’s the rotary cutter. I may never go back. (Thanks, Mom!)
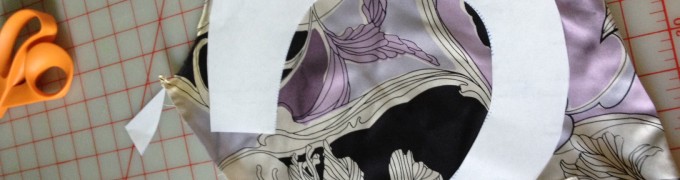
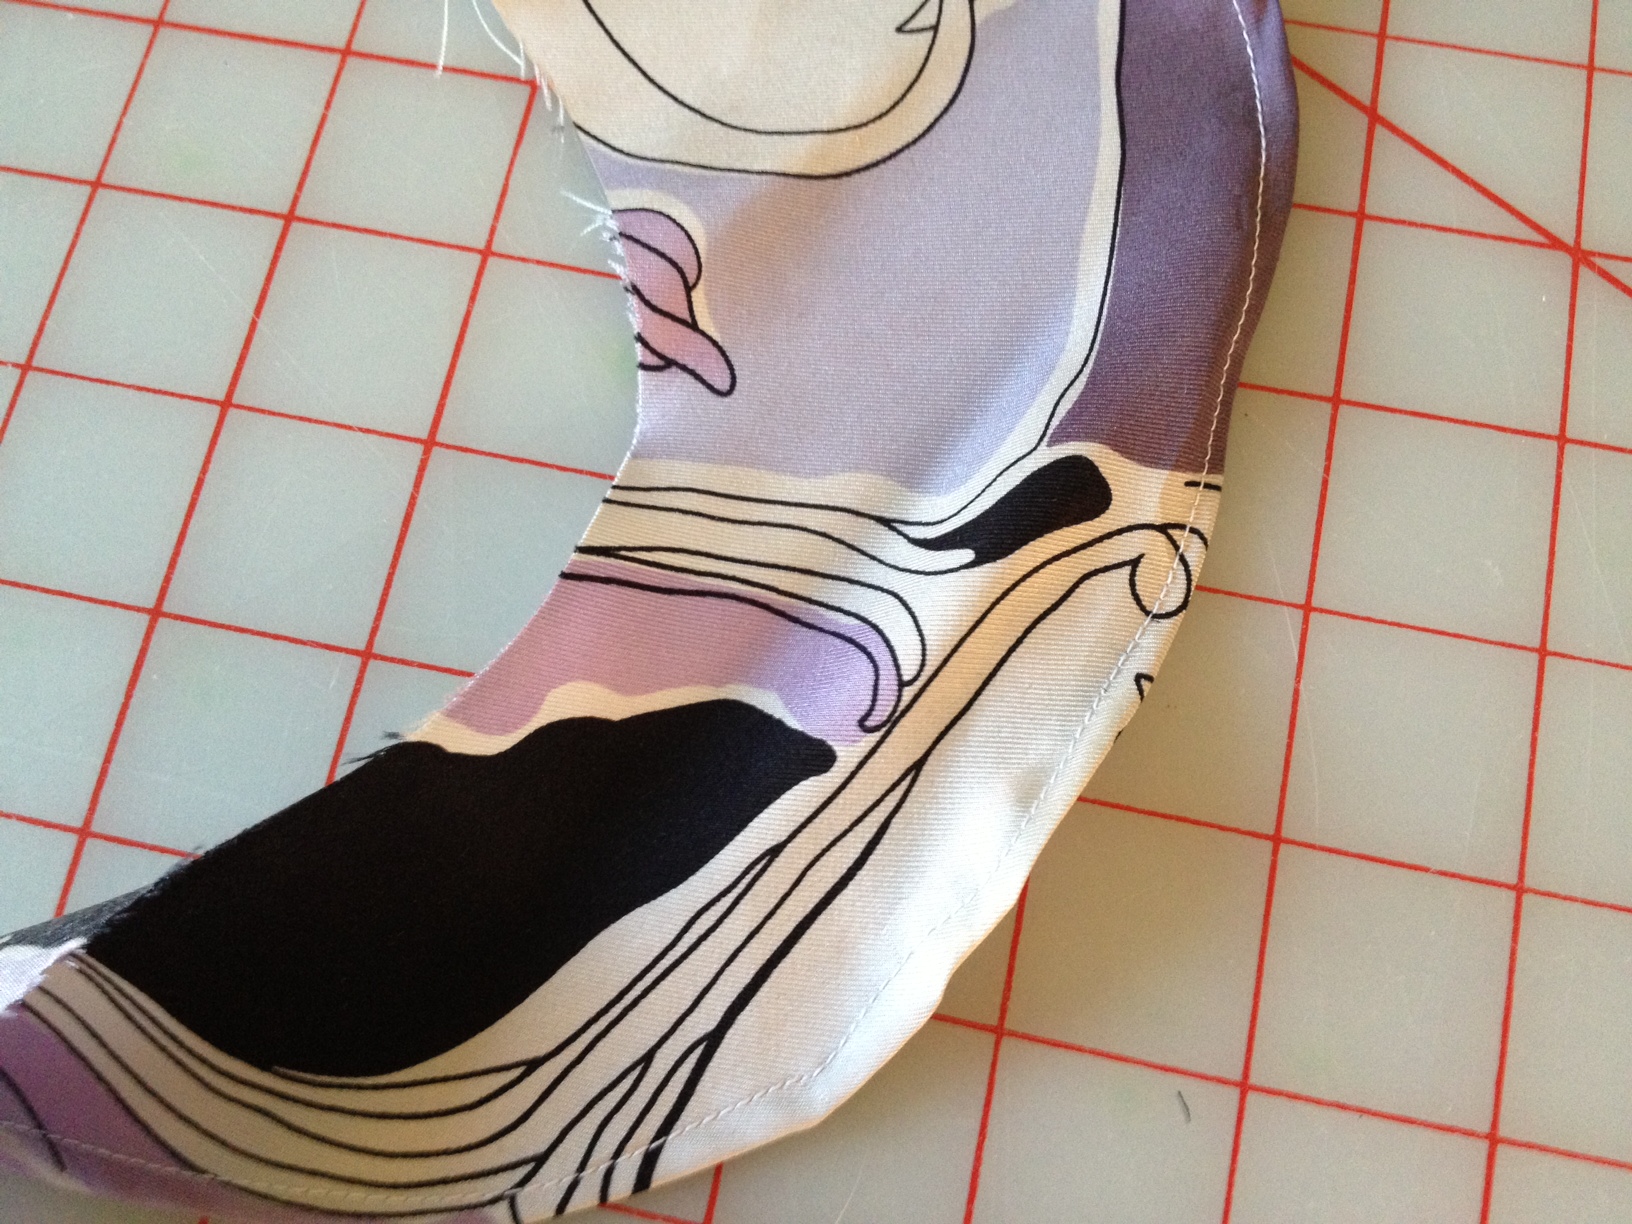
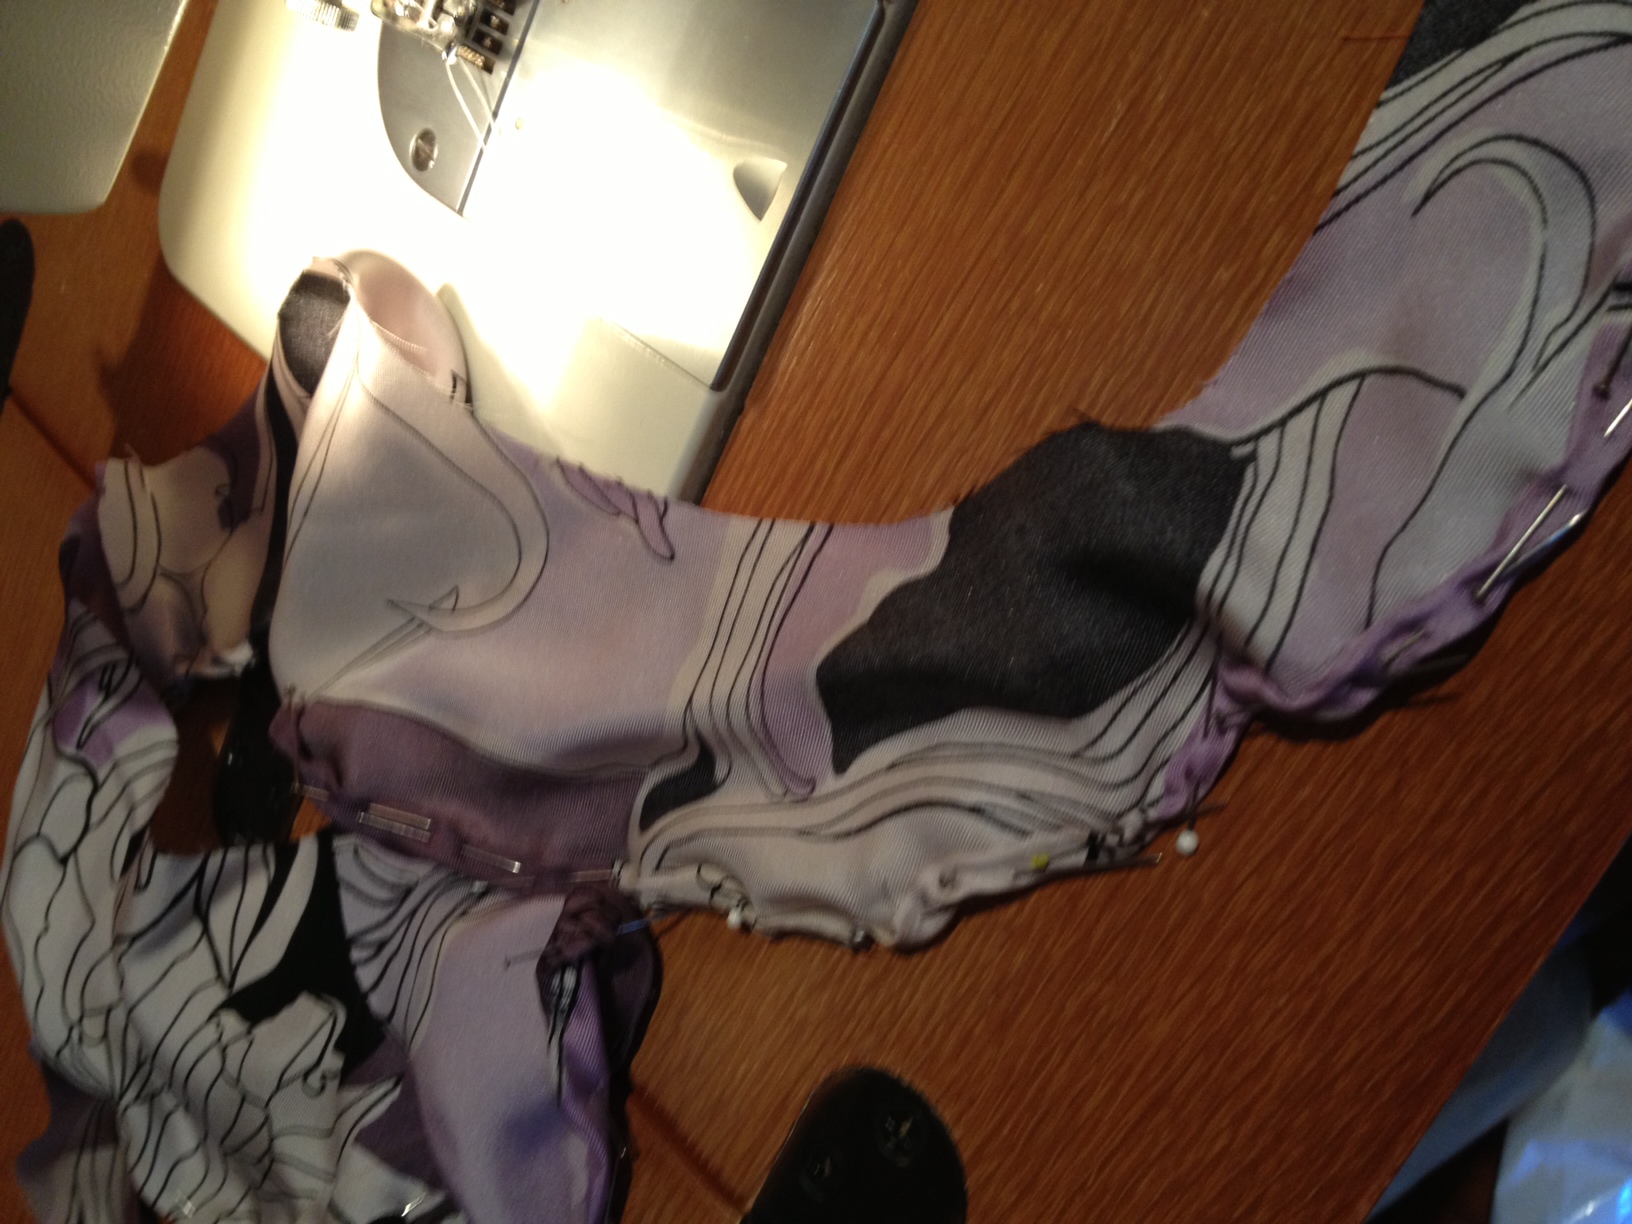 By far, the hardest part of this whole process was making the ruffle and attaching it. What I learned today is that curves are tough. As you can see (or maybe not) from this (blurry and dark) photo, I did A LOT of pinning to make sure the ruffle kept its shape as sewed it. Across the board on this project, the pinning took the most time, but it was definitely worth it since the curves came out pretty well. (Check out the sweet curve below.)
 Then I finished the armholes. After looking closely at some other sleeveless shirts I own, I decided the best way to finish the armhole was going to be with a thin bias tape. I didn’t have any thin bias tape, so I made some out of some extra white fabric I had on hand and sewed it to the armholes. This is the first time I’ve made bias tape, but since I didn’t need much and the fabric I had was very wide, it was super easy–all I had to do was cut some diagonal strips of cloth. This was also the first time I’ve finished an armhole, so that was pretty exciting. I think it turned out pretty well. It lies pretty flat and the bias tape adds a little extra integrity to the armhole, which is good.
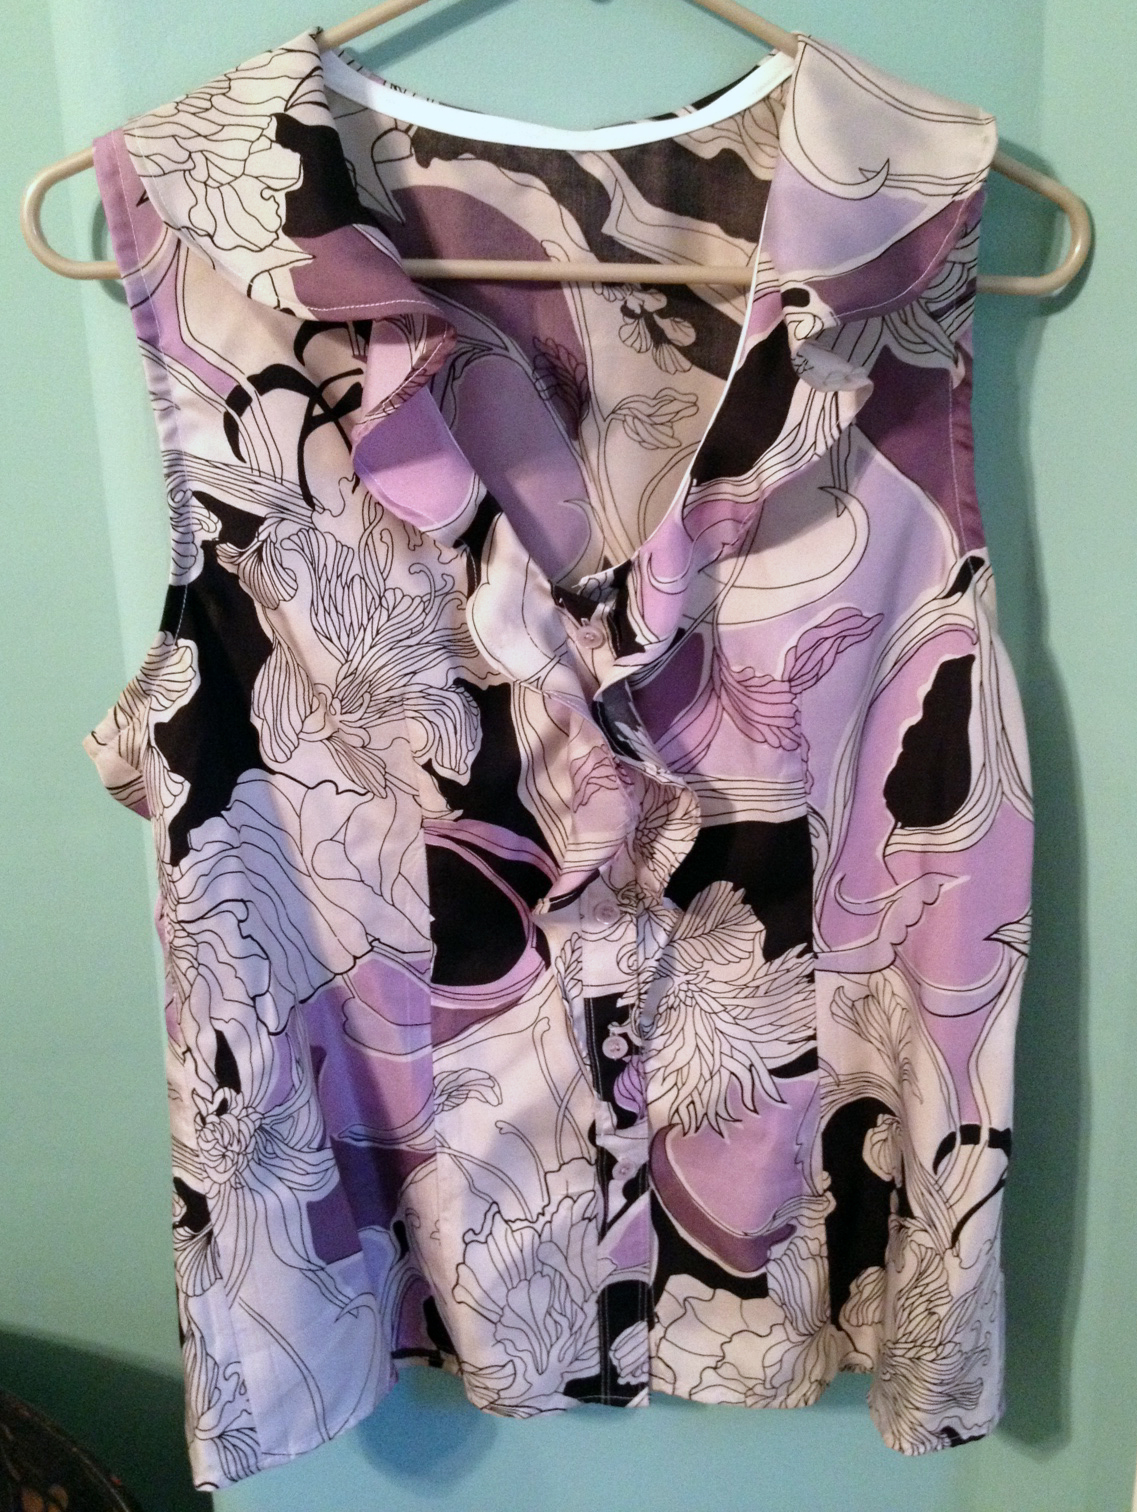
The last step was to attach the ruffle to the shirt. Again, I turned to my trusty homemade bias tape. The trickiest part of attaching the ruffle was figuring out how to make it transition gracefully from the collar to either side of the buttons. It took a couple of tries (and I’m proud to say that I don’t think I cursed even once), but I finally ended up with something I could live with. I didn’t anticipate the fact that it’s hard to sew right next to something that has buttons attached to it, so I ended up hand-sewing some of it. In the end, though, it turned out pretty well, and now I have a lovely new summer blouse! (See below, with the picture of the original one for comparison.)
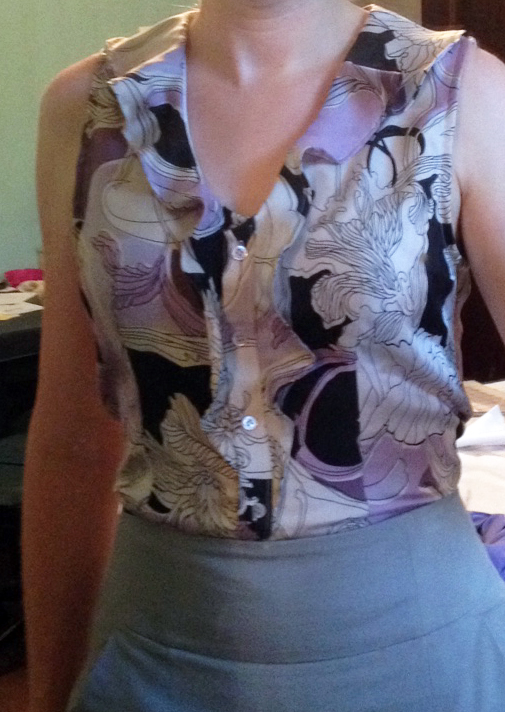 It fits pretty well, right?
After the success of this alteration project, I may just dive into the big pile of other cast-off clothing I’ve been saving in the hopes that a few alterations will make them wearable again. Who needs new clothes when you can just give your old ones new life?
Leave a Comment
Let us know your thoughts on this post but remember to place nicely folks!